How to choose a rope, and tie into that rope

Being able to tie into a rope is a fundamental thing that all rock climbers need to learn how to do.  If you can’t tie into a rope then you won’t be able to climb safely. Whether you are climbing indoors, outside, ice climbing, trad climbing etc you have to learn how to tie in.  But before we teach you how to tie in lets talk about ropes. 

In most cases you will be tying into a single, but there are cases in which you will use two half ropes to tie in, but you won’t need to know about that until you’re a little more advanced.  Most single ropes are between 9.5-10mm in diameter, but you can get single ropes that are 9.1 or 10.3. What is meant by single rope is that you can safely climb on it as a single strand of rope.  Half ropes are not certified for use as a single rope. Single ropes are put through serious testing and have to meet a certain standard for them to be certified as a single rope. If a rope is certified as a single rope it is safe to climb on.  If it’s certified as a half rope you need another rope to make it safe. Also there are some ropes that are dry treated and ones that are not. If a rope is dry treated it means it won’t absorb water as much and can be used for ice climbing. When ropes absorb water they are compromised and can not be used.  Once the rope is dry again it’s fine to use again. Just never use a rope when it’s wet. Dry ropes are usually way expensive and they are only going to be worth it if you live in a very wet climate or are going to ice climb a lot. I would say for your first rope, get a non dry treated rope. You also need to choose a length of rope.  Ropes are measured in meters and they common sizes are 40m, 60m, and 70m. For most cases a 60m rope will be long enough (remember you can only climb as high as half your rope). But I would suggest getting a 70m rope because it’s just a great all around rope. You can use it on big climbs and short climbs and you can even use it in the gym.  If you are planning on doing a lot of indoor climbing a 40m rope will be best because it’s lighter and less of a hassle to haul around. But you won’t be able to do much outdoor climbing with it.  

Now that you know what rope to buy check out this link to learn how to tie in.  
Why Do I Climb?

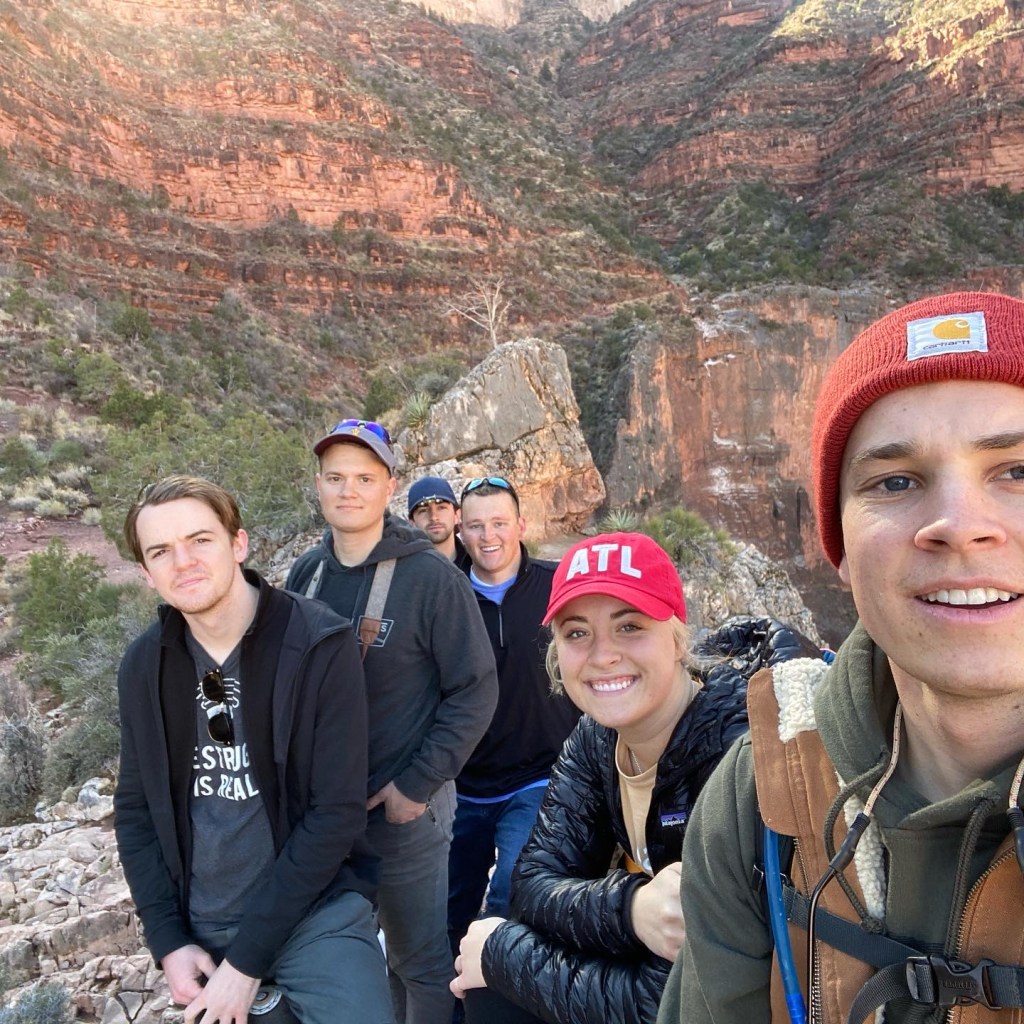
Me and my best friend on a trip to the Grand Canyon

Many of you may be wondering how and why I got into rock climbing.  Well it’s a long story and here it is. When I was growing up my dad did some rock climbing, but he stopped when I was about 2 or 3 year old.  He stopped because one day he was doing a multi-pitch climb with is brother-in-law Shane. Shane lead the route and was belaying my dad up from the top.  Wen my dad got to the top he realized that shane had not anchored himself to the cliff and if my dad had fallen he would have fallen to his death and would have pulled Shane off with him.  This was enough to scare my dad out of the sport. He sold most of his gear and never climbed again. When he sold his gear he decided to keep his harness, shoes and a couple of carabiners.  This basic equipment has been sitting in our garage ever since. From time to time growing up I would see this gear and it would spark my interest in the sport. I was always curious about climbing, but because of my dad’s experience he never advocated for me to get into rock climbing.  

In Provo there is an indoor gym called The Quarry.  It was the only climbing gym near my house growing up and I would go there sometimes with my friends.  I always loved going to The Quarry, but it was kind of expensive and I stopped going when I was in high school.  I didn’t really think about climbing for about 5 or so years. But one summer one of my best friends went to Colorado to do summer sales and he met some people out there that rock climbed.  He started to do some basic climbing and fell in love with it. When he and the friend that he made came back from Colorado they invited me to go climbing with them. I was stoked because finally I had someone to help me get into outdoor climbing.  I also fell in love with the sport the first time I climbed. The next day I went out and bought my own harness and shoes and I’ve been climbing ever since.  

Climbing is something that really doesn’t make any sense and doesn’t have practical use in the world.  For me climbing is about more than just the scaling of a rock wall. It’s about comradery with your climbing friends, setting and accomplishing goals, and seeing more of this beautiful earth we live on.  Rock climbing is something that I plan on doing for the rest of my life, or as long as my body will allow me to. I’ve gained too much from it to quit. I’m not the best climber by any means. Right now I’m only climbing 5.10d indoors and maybe 5.10a outdoors on lead.  But that doesn’t matter to me, and I hope it doesn’t matter to you. If climbing makes you happy, keep doing it.

Outdoor Vs. Indoor Climbing

Rock climbing indoors and outdoors are both great way to get into the sport.  They both offer unique opportunities and ways to learn and fun while rock climbing.  Chances are you won’t just choose to do all the time. I for one rock climb indoors and outdoors all the time.  In this blog post I will be discussing the main pros and cons of both indoor and outdoor rock climbing.  

INDOOR

UVU Climbing wall, The Project, courtesy of https://www.uvu.edu/oac/climbing/

Chances are this is how you will start out your rock climbing career.  This is because one of the biggest advantages to rock climbing indoors is that in most cases you don’t need to own any of your own gear.  This is because most gyms are going to have rental options for you, so you don’t have to worry about investing in the expensive gear before you’re ready to commit to climbing.  Most gyms that I’ve gone to charge around $20-$30 for a day pass and rentals. This is a great economical way to know if climbing is for you. If you go to UVU like I do than you can climb and rent and all the gear needed for just $1.  Entrance and harnesses are free and the shoes are just $1 to rent. It’s by far the best value around.  

Another pro of climbing indoors is the gyms are usually open all year round.  This means you can climb and train in the winter months. I live in Utah and I don’t get a lot of opportunity to climb outside during the winter months. 

For me the biggest con of climbing indoors is you get bored after a few weeks of the routes that are available to climb.  Gyms are only so big so you don’t get to see as much variety as you would outside.  

Another problem with climbing at indoor gyms is the fact that you have to deal with the gym employees.  In my experience employees at gyms aren’t super great. Chances are they are very good climbing and they treat beginners in a lot of cases with disrespect.  This is especially true at the UVU gym (but don’t get me started on the UVU gym employees). The right employees can go a long way so I’d say one of the biggest things you need to worry about when choosing a gym is the employees.  

OUTDOOR

Outdoor climbing is a whole different ball game from outdoors.  My favorite part of climbing outdoors is being able to be out in nature.  There is something amazing about being out in nature and climbing a naturally occurring rock formation.  Outdoor climbing is also a little more difficult because you don’t have color coordinated holds to know where to grab the rock.  You have to take a little more time and effort to find the hold and trust them.  

The biggest downside to climbing outdoors is it takes a lot more money to get going.  You need more gear and expertise to be able to climb outdoors and this can be costly. My advice would be to acquire the gear little by little and if you have a partner that you think you will climb with for year to come you can always split the cost up.  That’s what I did with my roommate. Another downside to climbing outdoors is you usually don’t get to do as much climbing because it’s much more time consuming. But to me these are small down sides to the greater upside. If you love climbing and have the money to do it, go climbing outdoors!!

Don’t go too big too soon

Soon after my best friend and I started climbing we got the urge to take our talent to the great outdoors.  Before this we had done almost all of our climbing at our local gym or at our neighbor’s house who has a bouldering wall in his garage.  All in all the climbing we were doing was very safe and within our realm of expertise. But as we began to enjoy climbing more and more we decided to go outside.  This in and of itself was not necessarily a bad idea. We felt we had done the necessary research and practice and felt that we were going to be able to do just fine.  We chose a very easy route that was well within our skill level and set off. On this particular day things went off without a hitch. We climbed a very easy 5.6, and that was it.  We never felt unsafe or unprepared; it was a blast to say the least. Well this outing gave use a little too much confidence in the end. After our very successful experience of outdoor climbing we decided to take it to the next level.  We chose a far more advanced route that was high up in Rock Canyon called JawaJam. This route is very beautiful and not very many people know about it because it takes a good hour to hike to. We had been up there with some very good climbers a few weeks earlier and decided to take a crack at it.  I drew the straw to be able to lead the route and it didn’t take long before I realized this was far above my pay grade. But instead of giving up I decided to keep going. As I went up I had a hard time figuring out where the bolt was and ended up clipping some bolts that weren’t on my line creating a lot of rope drag.  This makes things very difficult and can make things dangerous as well. Thankfully I was able to make it up the climb with out any falls and make the anchor. My friend then had to top rope the climb to clean the anchor. He got up with little to no trouble, but he didn’t have much experience cleaning anchors and things got a little hairy in this department.  As he was untying the rope to then feed through the chains (after securing himself with a PAS of course) he didn’t tie it to his harness, the rope slipped out of his hands and he barely caught it with his feet. If the rope had fallen he would have been stuck up there with no way to get down, and I wouldn’t be able to climb the rope back up unless I was able to get someone to help me belay.  It would have been very bad. We learned a good lesson that day. Never try to do things before you are expert at them. Practice tying knots and feeding the rope before you’re up on cliff 115ft. Remember it’s true what they say, you only live once, don’t waste it away by not preparing.

How to create an anchor

When learning how to rock climb safety should always be your number one priority. When it comes to climbing up to 100 ft in the air, you can’t be careful enough. From you equipment to your techniques the smallest mistake can be fatal. On the contrary if you always practice safe climbing techniques you will most likely never have a problem with sport climbing. Sport climbing is a relatively safe way to climb. This is because you are always using permanent bolts that are drilled into the cliff side to secure yourself to the climb. What is the alternative you might ask? Well when Traditional (trad) climbing you are burdened with placing your own protection in the form of cams, pitons, hexes etc. All of these things can be very effective ways to secure yourself in the case of a fall, but they require that you carry them up the climb and place them yourself. This a lot more human error potential. This means that you are going to need a lot more experience than you already have to be able to do this type of climbing. Not only can traditional climbing be more dangerous, it can also be far more expensive. A simple rack of cams can cost $800 and you probably need more than just one rack. So I’m just going to assume that if you’re reading this blog you aren’t ready for Trad climbing just yet. Now back to sport climbing. Like I said before when you’re sport climbing you are using pre-placed bolts to secure yourself as you go up the climb. This is also the case for when you get to the top of a climb and need to create an anchor. Creating anchors was always one of the more daunting tasks for me to learn how to do because the safety of the next people to do the climb is at state as well as my life. This always added little bit of extra precaution to the way I approached this task. There are multiple ways of creating an anchor when sport climbing and this video does a great job of outlining exactly how it should be done. My preferred method is the 2 quickdraw method with opposite and opposing gates (this is the first technique she outlines). This is the simplest method and is plenty safe for most applications. I have also created a “locking quickdraw” which is a normal quickdraw dog bone with a locking biner at either end for added safety. The second 2 methods she outlines are important to know as well. If the 2 bolts for the anchor are not at the same height when you get to the top you will need to use one of the other 2 techniques she outlines. This is because if you use the quickdraws (which are the same length) all of the weight from the climbing will be applied to just one of the quickdraws creating an un-equalized anchor. This can be very dangerous. And remember it’s always safest to practice any of these anchors on the ground first before doing it 100 ft off the ground. Here is a link to a good video that can help you understand how to make a top rope anchor. https://www.youtube.com/watch?v=Y-pLP9dRWPc&t

How to chose your climbing partner

Almost every type of rock climbing requires you to have a competent climbing partner. Unless you plan on doing a lot of bouldering (which is a great option if you don’t have a partner), or free soloing (which I don’t recommend if you want to live a long life) you’re going to need to find a partner that you can climb with. By now you probably already know that in order to climb safely one person climbs and one person belays at the bottom. The belayer is very important because they are ensuring the safety of the climber, but the climber is also very important because they will be putting up the route and creating an anchor so that others can climb on the route in an easier manner. If either of these people make a mistake it can be fatal to either or both people. Not only is a partner important while you’re climbing, but they are also important before you climb. Both the climber and belayer will double check the knots and belay device set before anyone set off up the route. This is very important because even seasoned veterans make mistakes when it comes to tying knots and using a belay device. Don’t think that just because you have lots of experience you can skip these steps.

Now that we’ve talked about why it’s important to have a good partner let’s explain who to chose.

It’s important to chose someone who is about your same level. This way you will both be able to do the same routes and it makes climbing much more enjoyable. Make sure that you trust your partner! This is probably this most important part of choosing a partner. If you don’t chose a partner you can trust you will always be worrying about other things while you’re climbing and not focusing on the climb. Also make sure your partner has a schedule similar to yours to that you can go climbing as much as possible. Oh and don’t forget you need to chose a partner that will make climbing enjoyable and fun!!

Top 3 Resources for Climbing information

1. Your local gym
Your local gym will have loads of people who know what they are doing and are willing to help you if you have questions. In my opinion your number one resource should be people who do rock climbing for a living. These people will always have a better understanding of what you need to do in order to stay safe out on the mountain. If you know any certified rock guides this is even better, but chances are you don’t. I don’t know any rock climbing now let alone when I was first starting out. Your local gym employees are then next best thing in my opinion. They may not be certified guides, but chances are they are climbing every waking second, I mean why else would they work at the gym? It’s not for the money that’s for sure. This means they will almost always have the answer to one of your questions or if they don’t they might know someone who can help you out. It’s always good to remember that no matter who you get your information from it’s up to you to make sure you’re safe. If you get hurt or worse killed you can’t blame Jim at the gym for your screw up.

2. YouTube
I hesitate to put YouTube on this list because like anything on YouTube there is great information, and there is really crappy information. When I first started climbing YouTube is where I got a ton of my information. I think that YouTube can be a really great source, but I would say it is a secondary source. What I mean by this is that you should use YouTube to learn what you need to learn. Sometimes when you’re starting out climbing you don’t even know what you need to learn because at the end of the day you don’t know what you don’t know. I like to use YouTube to start my research on certain topics and then use more reliable sources to hone down the info.

3. Mountain Project
Mountain Project is a really great forum that is put out by REI and it has loads of information on it. It’s public, so like YouTube you need to be a little careful about the information you find, but I’ve found that if someone puts bad information on it someone else is quick to correct it. Mountain Project’s main purpose is to help climber locate climbs in different regions of the world. Just about every climb in the world is logged on Mountain Project with directions on how to get there and how climb the route safely. Some directions are better than others, but Mountain Project is the exclusive source I use when I’m looking for new climbs to do.

These are 3 great sources for information on climbing, I must reiterate though that at the end of the day you are responsible for your own life, and in many cases the life of your climbing partner. Always air on the side of caution and if you feel uncomfortable doing something DON’T!!!!!

5 Things to start rock climbing

1. Go to a local gym
The first thing you should do is find a local climbing gym to go to. The reason you want to do this is to make sure it’s something you want to put more time and money into. If you just go out and buy all of the gear without trying it out first you’ll never know if you really like. Make sure you go to the climbing at least three or four times, so you can be sure it’s something you want to pursue. This will also help you get to know more people in the climbing world and expand your climbing network.

2. Buy the necessary basic gear

When you first start climbing chances are you’ll need to rent the equipment from the gym you go to. This works just fine for the first few times you go, but it can get old fast. At some point you just get sick of putting your feet in the same shoes as hundreds of other people. The most basic gear you’re going to need is a harness, shoes, and a belay device and locking carabiner. We’ll go into how to chose which shoes and harnesses to buy in more detail later, but the quick version is don’t just go for the cheapest stuff possible. If you just go out and buy the cheapest stuff you can find you’ll be replacing it sooner than you want to and just spend more and more money. If you can afford it buy something quality but not too advanced. When it comes to a belay device, I always recommend buying an ATC first. This is the most basic and widely used belay device.

3. Get lead certified/buy a rope

When you first start going to the gym chances are you’ll start out with top roping. This just means that the rope is attached to the top of each climb and you simply tie into it in order to climb. Lead climbing means you’re starting with all of the rope at the bottom and clipping it into quickdraws (two carbiners attached with a piece of webbing) as you go. This type of climbing is more advanced and takes more technique. This type of climbing will be essential as you venture outside to climb. Most gyms require you to use your rope when you’re lead climbing so you will need to acquire a rope. This is the single most expensive piece of gear you will need.

4. Buy more advanced gear

After you know how to lead climb chances are you’ll want to take your talents to the great outdoors. For this you’re going to need more gear than just your harness, shoes, belay device, and rope. Once you want to venture outside you will need to buy between 10-20 quickdraws, some slings, more locking carabiners, and more depending on the type of climbing you want to do.

5. Enjoy

The last step is to enjoy yourself of course. Climbing is one of the best ways to see the great outdoors in a new perspective.

Design a site like this with WordPress.com
Get started